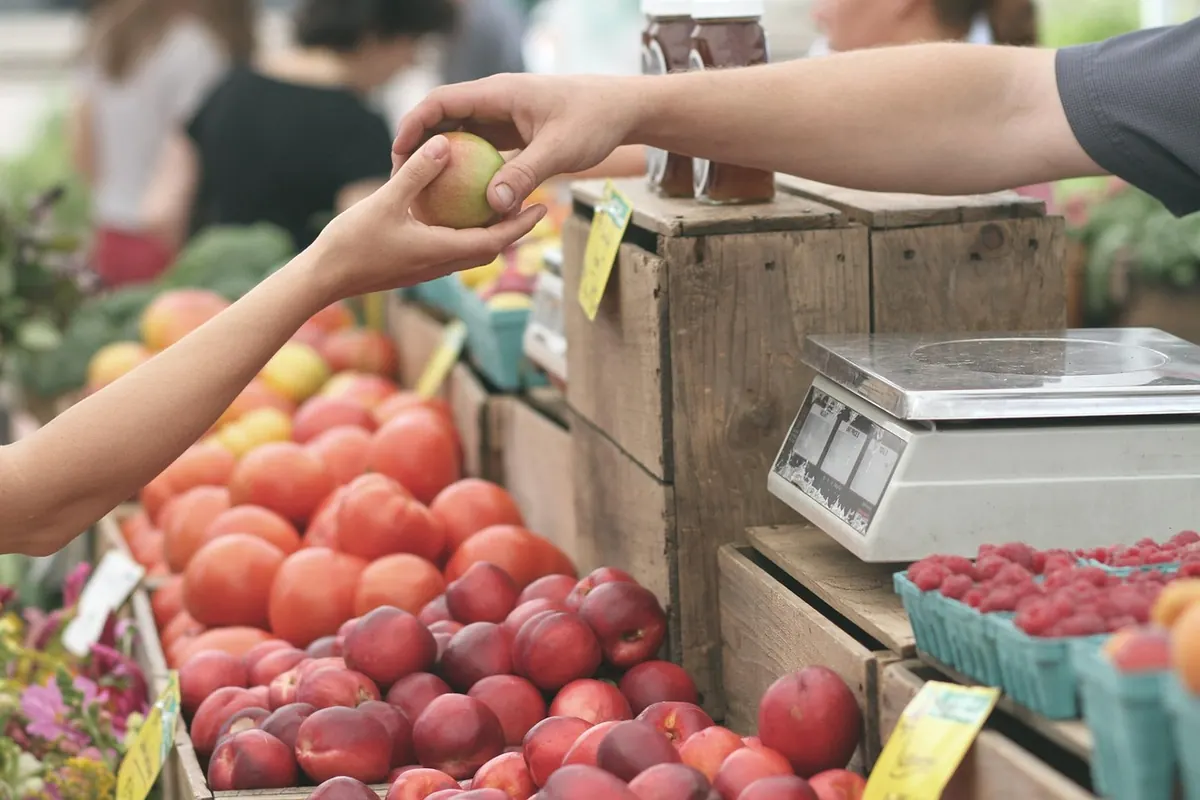
The trunk is full: a flat of strawberries, three bunches of chard, a paper sack of dried black beans, and more garlic than any reasonable household needs. The market was delightful. The kitchen counter, twenty minutes later, is a different story.
Bulk buys reward you twice — once at the stall, and again every time you open the pantry and find something still worth cooking. The work in between is mostly about moisture. Get things dry, get them cold or sealed at the right moment, and a Saturday haul can feed you for weeks.
Sort the Haul Before You Put Anything Away
Unpack everything onto the counter and split it into three piles: eat-this-week, fridge-bound, and pantry-bound. Soft fruit, tender greens and cut herbs go in the first. Roots, brassicas, peppers and firm fruit go in the second. Dry goods, alliums, winter squash and potatoes go in the third.
Keep the piles apart
Onions stored beside potatoes is the classic mistake — each releases moisture that shortens the other's life. Give them separate baskets in a cool, dark, ventilated spot. Skip the fridge for whole tomatoes, onions, garlic and potatoes; cold turns their texture grainy and dulls flavour. Once a tomato is cut, it belongs in the fridge and gets eaten soon.
Check for damage
One bruised peach can turn a whole box by Tuesday. Pull damaged pieces out, use them first, or freeze them for smoothies and sauces. The same goes for a split tomato or a pepper with a soft spot. Sorting takes five minutes and saves a lot of waste.
Wash Less Than You Think
The rule that saves the most food: wash what you're about to eat, not what you're about to store. Surface moisture is the enemy of shelf life. Berries in particular keep far longer if you don't rinse them until the moment they hit a bowl — a quick rinse in a colander just before serving is enough.
Leafy greens are the exception, because grit hidden in the folds is miserable to find later. Wash them in cold water, spin them dry, wrap them in a clean towel, and tuck the whole bundle into a bag or box in the crisper. Herbs behave like cut flowers: trim the stems, stand them in a glass of water, or roll them in a barely damp towel and bag them. Dry herbs such as thyme, rosemary and oregano prefer to stay dry and loosely wrapped.
When you do wash, dry properly
Use cold water and never soak anything longer than it takes to loosen soil. Drain, spin, then blot with a clean tea towel. A salad spinner followed by a towel is the fastest route to genuinely dry leaves, and dry leaves are what keep a bag of chard from turning to slime.
Leave root vegetables alone
Don't wash potatoes, onions, garlic or winter squash until you're ready to cook them. Brush off loose soil and let them sit in a single layer in a cool, dark spot for a few days if they arrived damp. That short cure thickens skins and buys you weeks.
Drying Is the Step Most People Skip
If there's water in the container, you're growing something. This applies to greens, to rinsed beans, and to nuts and grains that got splashed on the way home.
- Leafy greens: spinner, then towel, then a dry bag with a paper towel to catch any remaining condensation.
- Berries: one layer on a tray lined with a towel, an hour at room temperature, no rinsing.
- Mushrooms: wipe with a damp cloth. Never soak them.
- Nuts and grains: if you rinsed them, spread them out and air-dry completely before sealing.
Portion for the Shelf You Actually Have
Bulk buying forces a decision about size, and the answer is usually smaller than the bag you bought. One enormous bin of flour that you have to dig into with a scoop is harder to live with than two or three jars you can lift down easily. Decant a ten-pound bag into a working jar, a couple of backstock jars, and a freezer bag for the rest.
Label everything with what it is and the date it went in. A plain jar of beige powder tells you nothing in March. Keep a clearly marked "use first" shelf or basket near the front of the pantry, and move older stock there whenever new stock arrives. First in, first out — the same rule a good shop uses.
When freezing portions, leave an inch of headspace in jars or containers, and let cooked food cool before it goes in. Flat freezer bags stack better than round tubs and thaw faster.
Choose Containers for the Job
There is no single perfect container, only the right one for each item. A quick map:
- Glass jars with clamp or screw lids: grains, beans, pasta, dried fruit, spices.
- Square latching containers: flour, oats and rice, because they stack without wasted space.
- Baskets, mesh bags or open crates: onions, garlic, potatoes, winter squash — anything that needs air.
- Linen or perforated bags: greens and herbs in the crisper.
- Zip or vacuum bags: freezer portions and backstock that won't be opened for a while.
Only use containers meant for food, and retire anything that held paint, detergent or garden supplies. Before refilling a jar, wash and dry it thoroughly — a trace of oil from last month's nuts will shorten the life of this month's oats.
Moving Dry Goods Onto the Pantry Shelf
Market dry goods — beans, lentils, oats, nuts, dried chillies — often carry the eggs of pantry moths. A spell in the freezer handles that. Freeze the bag for a few days, then let it come fully to room temperature before you open it and decant, otherwise condensation forms inside the jar. Seal the jars tightly and store them away from heat and direct light.
Buy from bins that look clean and have dedicated scoops. Write the purchase date on the jar, and if you're working through a large quantity, keep a smaller jar on the shelf and the rest sealed in the dark.
A Simple Routine That Keeps the Pantry Honest
Give market day a fixed half hour: sort, wash only what needs it, dry everything properly, portion, label, and put things in their places. Then walk the pantry once a week with a basket in hand and pull anything that's fading into the next meal.
Humidity, climate and kitchen temperature vary enormously, so treat these as starting points and adjust to what you see. If you plan to can, ferment or otherwise preserve in quantity, follow tested recipes from a recognised home-preservation source rather than improvising, and check with a qualified professional if you're unsure about safety. Everything else here is just good habits, repeated.
Photo: Pexels / Pixabay